How to make cheese at home: The best recipes for homemade cheesy goodness
Is homemade cheese possible? Yes it is, and it isn't that hard – with the right recipe. It's also cheaper than buying overly-expensive cheese from the store. Here's how to make cheese at home.

Famed Frenchman Jean Anthelme Brillat-Savarin once uttered the phrase, "Desert without cheese is like a beauty with only one eye," and despite the casual sexism, he was kind-of right... on the cheese front.
Cheese is the ultimate beauty - flawless, creamy, and savory in equal portions. The problem, though, is it can be bizarrely expensive.
So, does that mean we have to give up this greasy goodness all together? Well, of course not.
If you're a cheese-based food fan, we've got you covered. TAG24 is taking on its inner Wallace and Gromit and diving into how to make cheese at home.
With these cheese recipes, you'll be eating Mozzarella for breakfast...or anytime you want.
Why should you make cheese at home?
Let's cut to the chase with a rather simple question: What the heck is going on? Why is cheese is so expensive?
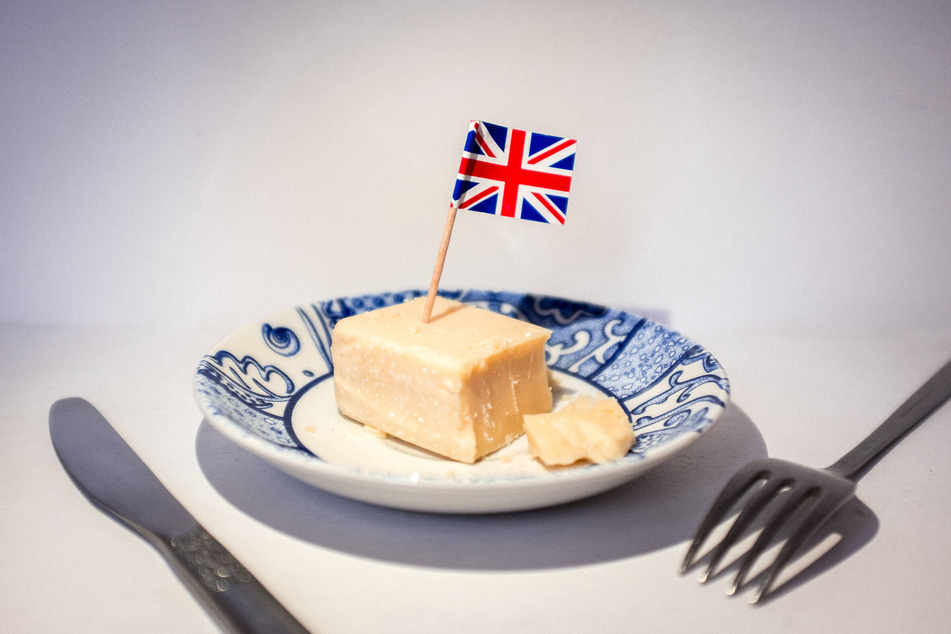
With grocery prices rising briskly over the last twelve months or so, it is less than surprising to see cheese prices rise alongside them. In fact, Statista reports a 77% price increase between 2021 and 2022, so we're not going crazy - cheese really is more expensive nowadays!
Recently, cheese prices in the US have amounted to an average of $4.66 per pound for standard cheeses. That is a true peak in price. And it's also not only the United States that's struggling with its cheese affordability - the rest of the world is too.
So: Why should you try making your own cheese at home? Well, because it is cheaper and a lot of fun!
The key ingredient in cheese is – you guessed it – milk. According to the United States Department of Agriculture, a gallon of milk cost an average of $4.80 across all 50 states over the course of January 2023. Considering that a gallon is more than 8 pounds, that can make for a lot of cheese!


How to make cheese at home from milk
Cheese is, ultimately, made from the separation of curds and whey. This is done by adding a starting culture and then continuously stirring until a chemical reaction takes place. Once the bacteria in the starter has worked its magic and has fully curdled the milk, the solid part of the cheese - the curds - are collected, and this is what cheese is then made out of.
It's a process that you can do quite easily at home. Buy some milk and purchase yourself a cheese starter (something that is generally quite cheap) and some cheese cloth. Pop the milk into a pot, add the starter, stir briskly and continuously for a good long while, and then collect the separated curds.
Once the curds have been separated, they need to be salted and then treated according to the type of cheese you want to make.
Alternatively: Instead of using a specialized agent, you can also separate the curds and whey by bringing the milk to a boil, immediately taking it off the heat, and adding about 1/2 cup of white vinegar for every gallon of milk. All the other steps are the same.

How to make feta cheese at home
Feta is a delicious Greek cheese made out of sheep's milk and aged in a brine. It is relatively simple to make a basic feta, but also highly modifiable.
So, what do you need? Well, you need the ingredients for the brine, the equipment to separate curds and whey, and sheep's milk instead of cow milk.
Feta cheese recipe | Instructions
Step 1: Separate the sheep cheese's curds and whey, collecting the whey and putting it into a cheese cloth that has been hung over a colander.
Step 2: Once the milk has curdled, pour it into the cheese cloth, allowing the whey to run through the cheese cloth and out of the holes in the colander. Drain it out so that only the curds remain.
Step 3: Tie the bag closed and try to squeeze out as much of the liquid as you can. After this, leave it draining in the colander, in the sink, for about 4 hours.
Step 4: Once they have drained, cut the congealed curds into a couple of blocks and continue to let it drain until relatively dry.
Step 5: Make a brine out of water, salt (to the ratio of 16:1), a little bit of white vinegar (about 2 tsp) and calcium chloride (1 tsp). Combine all the ingredients so that everything is dissolved and then put the liquid mixture in a jar.
Step 6: Submerge all of your curds in the brine and leave it for 12 hours. Afterward, drain the brine and leave the cheese to age at room temperature for about 2 days.
Cover and store your homemade feta in the fridge and enjoy it in a Greek salad, in a toasted sandwich, or in something a little more adventurous – an omelette.
How to make cottage cheese and ricotta at home

It is easy to make ricotta with just a bit of white vinegar, some salt, and of course some milk.
Indeed, it is a great cheese, quick and easy to make, and versatile in meals. When combined with a bit of cream, it is generally referred to as cottage cheese. Ultimately, though, the two cheeses are not so different.
Cottage cheese and ricotta recipe | Instructions
Step 1: Heat milk in a pot until it is about 180-190°F, before removing it from the heat and adding the vinegar.
Step 2: Stir a few times and allow it to rest until the milk has curdled, and you can separate the curds and whey.
Step 3: Drain the whey and collect the curds in a cheese cloth. Set it aside and let it totally drain for 30 minutes to an hour.
Step 4: Form the cheese cloth into a ball and squeeze out any excess whey. If it is still warm, run it under a little bit of cold water to reduce the temperature. After giving it another hour, take the cheese ball out of the cloth.
Step 5: Break up the cheese and salt it to taste, so that it is crumbly. If you want it to be creamy, add a few tablespoons of cream and mix. Chill it for at least an hour to let it set.
Enjoy your ricotta or cottage cheese on bread, in desserts, with tomatoes, and in salads. It can be absolutely delicious if done right, and is certainly one of the easiest cheeses around to make.
So what's the difference? Cottage cheese is a creamy cheese often used for dips and as a spread on bread. Ricotta, however, is a crumbly and drier cheese that hasn't been mixed with anything else. Generally, if you want to make ricotta, you should try to separate the curds and whey as much as possible, so that it is super dry and crumbly.
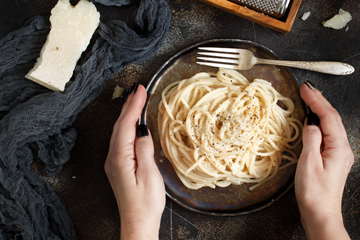
How to make cheddar cheese at home
This is where cheese-making get a bit challenging, and may take a while to get right.
To make cheddar cheese you are going to need, in addition to milk (3 gallons for this recipe), a packet of mesophyllic culture (C101), about a 1/2 tbs of liquid rennet and the same amount of calcium chloride, and some salt.
Cheddar cheese recipe | Instructions
Step 1: Heat and acidify your milk, separating the curds and whey. Use the same method as with the ricotta, heating it to about 180-190°F.
Step 2: Instead of using vinegar, add the culture once you have reached the target temperature and then continue to keep the milk between these temperatures for about an hour and a half.
Step 3: Once you have cooked it, and it has ripened, take it off the heat and add the rennet. Let it sit now, undisturbed, for about 45 minutes. You will notice that it will begin to thicken up and coagulate.
Step 4: After about 45 minutes to an hour, it should have formed a solid lump. You now need to cut this lump of whey into a few different pieces. We recommend about 3/4 of an inch in width, and length, as little squares. Take care not to make them too small.
Step 5: Let them rest for a little while and then put them back on the heat, getting them to about the same temperature as before. This will firm them up and evaporate off the whey. Now it is important to totally dry them out, so increase the temperature to about 120°F for another 30–60 minutes, stirring gently until are dry and are easy to separate from one another.
Step 6: You now need to drain out any remaining whey and force the curds together until they are a solid and compact block. Now keep the cheese block warm, at about 80-90°F, for an hour.
Step 7: Continue to allow them to drain any leaking whey, and slice the block in half. Place one half above the other with cheese cloth between them. Put a cutting board on top of them, applying a few pounds of pressure. Continue for at least another 2 hours.
Step 8: Weigh the curds and then break them into smallish chunks. Now add an amount of salt that is about 2% of the weight you just calculated. The salt will pull more whey out of the cheese, forming a sort of brine as it leaks out. Allow this to drain and slowly massage that salt in.
Step 9: It's time to press all the curds together again. With a cheese cloth, line a cheese mold that you have previously prepared (and sanitized). You will need to have bought a cheese press.
Step 10: Use the cheese press to gradually increase the pressure over the next 24 hours. Follow the instruction on the cheese press you purchased. Remember that pressing will not work properly if the cheese is too moist. If it is, continue the process of removing the whey once again until dry.
Step 11: Once the pressing has finished and your curds have formed a pressed cheese in the desired shape, dip it into cheese wax to fully seal the cheese (to stop oxidation and dehydration) for aging.
Step 12: Once the wax has dried and the cheese is fully sealed, place it in a space that is kept around 50°F all year round. This is where you age it, and you should let it age for a minimum of 3 months and a maximum of 8–9 months. If your cheddar was drier, longer aging can be great, but if it was wetter we would recommend a shorter aging period.
If you want to get into cheese making, don't start with cheddar: As you have just read, this is an extremely complicated and difficult process. If you want to make cheddar, we would recommend taking a proper course, checking out multiple sources, and certainly trying to make other cheeses first.
How to make brie
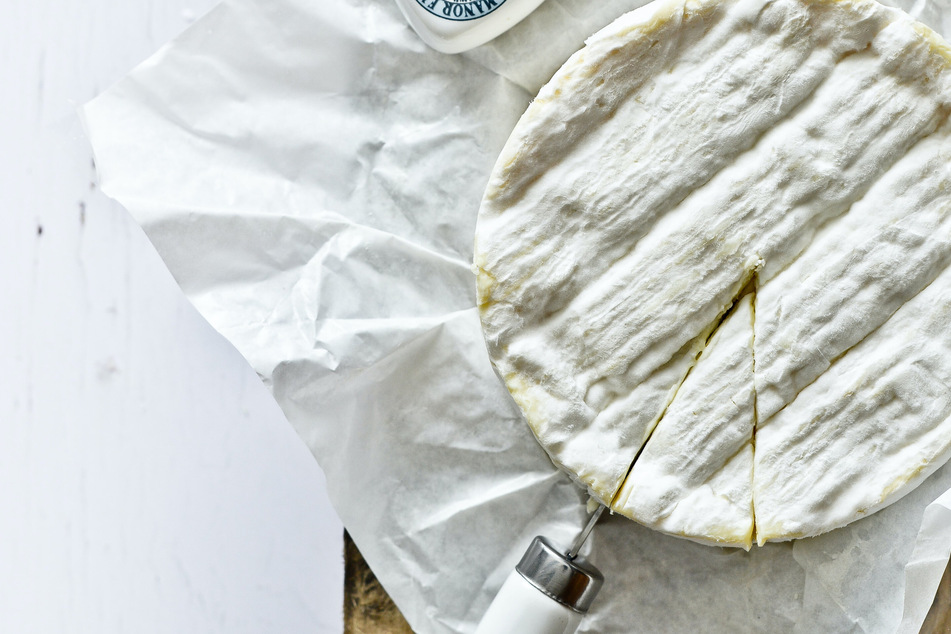
Brie cheese is slightly easier to make than cheddar, and requires pretty much all the same ingredients.
It is a creamy, delicious French specialty, and perfectly pairs with all kinds of summer fruits, as well as honey and even certain types of ham. As you will see, this might be a better starting point than cheddar.
Brie recipe | Instructions
Step 1: Follow the same process as described in steps one and two of our cheddar recipe, but only let it ripen for 15 minutes after adding the starter. The difference now is that you need to add another starter, called Penicillium Candidum, and give it a solid stir before continuing.
Step 2: As before, add the rennet, and stir solidly about 30–40 times around the pot. Once fully curdled, cube the curds as described before, but don't continue heating them afterward. Instead, place the curds into a circular open-bottom mold.
Step 3: Condense the curds together, so that it is one big compressed mass in the mold. After leaving it overnight, flip the cheese over.
Step 4: Wait another 12 hours (or until the cheese is firm enough to retain its shape without the mold) and remove it from the mold.
Step 5: Salt all the surfaces of the cheese before placing it in a covered container. What's important, though, is that it sits on a raised platform that allows the whey to continue collecting in a pool beneath the cheese, but without touching the cheese.
Step 6: Leave it in the container, drying at about 50°F, for about a week. You will notice a white mold forming, this is something that you want!
Step 7: Place the cheese in an environment that's good for aging, as described regarding cheddar, and allow it to age for about 3 to 5 months.
Some friendly advice: Brie is a lot easier than cheddar to make, but that doesn't make it the easiest cheese on the block. We would recommend starting with the likes of feta and ricotta, before moving on to something like brie or cheddar.
Cheese isn't hard to make yourself, and can be a fun hobby!
Here's the deal: You need to be careful when making cheese, but that doesn't make it difficult. With the price of cheese almost doubling recently in some places, it's a great advantage to be able to make your own out of milk. It might take a while, but why not give it a go? It's cheese, Gromit!
By making cheese at home, you might just pick up a new hobby, and some impressive homemade noms too!
Cover photo: Azzedine Rouichi / Unsplash